flask——简单博客示例教程(一)
原文:https://blog.csdn.net/u014793102/article/category/9285123
Flask从入门到做出一个博客的大型教程(一)
本项目全部在虚拟环境中运行,因此请参照前面的文章,链接为https://blog.csdn.net/u014793102/article/details/80302975 建立虚拟环境后,再接着完成本教程的学习。
0 开始之前
网上看了很多教程,都不是很满意,因此自己写一个大型教程,从入门到做出一个比较完整的博客。此次教程不是直接把整个博客直接代码整理出来然后运行一遍就完事,我会从flask的各个模块讲起。所以,如果你没有接触过flask,按照整个教程完整做一遍会掌握flask。(前提是你要有一定Python和web基础)
1 Hello world !
如果你接触过任何编程语言,对这个小标题都会很熟悉,此次对flask的学习也是从这个小例子开始。
准备工作环境
 1 duke@coding:~$ mkdir flask_tutorial
 2
 3 duke@coding:~$ cd flask_tutorial/
 4
 5 duke@coding:~/flask_tutorial$ virtualenv --no-site-package venv
 6 Using base prefix '/home/duke/.pyenv/versions/3.6.4'
 7 New python executable in /home/duke/flask_tutorial/venv/bin/python3.6
 8 Also creating executable in /home/duke/flask_tutorial/venv/bin/python
 9 Installing setuptools, pip, wheel...done.
10
11 duke@coding:~/flask_tutorial$ source venv/bin/activate
12 #进入Python虚拟环境
13 (venv) duke@coding:~/flask_tutorial$
14 (venv) duke@coding:~/flask_tutorial$ pip install flask
15 #创建flask目录
16 (venv) duke@coding:~/flask_tutorial$ mkdir flask
17
18 (venv) duke@coding:~/flask_tutorial$ cd flask/
19
20 (venv) duke@coding:~/flask_tutorial/flask$
正式开始
1 (venv) duke@coding:~/flask_tutorial/flask$ mkdir app
2
3 (venv) duke@coding:~/flask_tutorial/flask$ cd app/
4 #创建初始化文件
5 (venv) duke@coding:~/flask_tutorial/flask/app$ touch __init__.py
在_ _ init _ _.py中写如下代码,你可以使用pycharm,vscode等IDE来更快的书写代码。
app/_ _ init _ _.py : 项目初始化
1 from flask import Flask
2 #创建app应用,__name__是python预定义变量,被设置为使用本模块.
3 app = Flask(__name__)
4 #如果你使用的IDE,在routes这里会报错,因为我们还没有创建呀,为了一会不要再回来写一遍,因此我先写上了
5 from app import routes
创建路由模块,你可以使用IDE直接新建,没有必要要使用命令行创建
1 (venv) duke@coding:~/flask_tutorial/flask/app$ touch routes.py
app/routes.py : 主页路由
1 #从app模块中即从__init__.py中导入创建的app应用
2 from app import app
3
4 #建立路由,通过路由可以执行其覆盖的方法,可以多个路由指向同一个方法。
5 @app.route('/')
6 @app.route('/index')
7 def index():
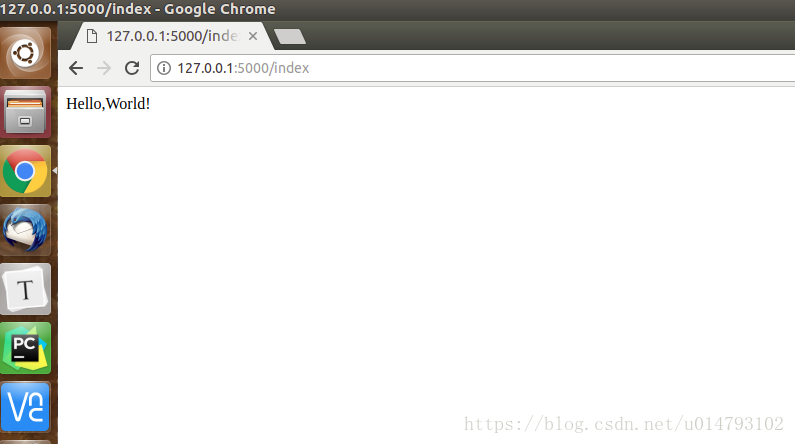
8 return "Hello,World!"
现在基本都齐全了,但是我们还是需要在app模块之外创建一个主入口,即执行这个主入口就可以达成运行整个项目的目的。
1 (venv) duke@coding:~/flask_tutorial/flask/app$ cd ..
2 (venv) duke@coding:~/flask_tutorial/flask$ touch myblog.py
myblog.py : 项目入口
1 #从app模块中导入app应用
2 from app import app
3
4 #防止被引用后执行,只有在当前模块中才可以使用
5 if __name__=='__main__':
6     app.run()
现在整个小demo就完成了,结构应该是这样的
1 flask
2 ├── app
3 │   ├── __init__.py
4 │   └── routes.py
5 └── myblog.py
ok,接下来就让项目跑起来
1 (venv) duke@coding:~/flask_tutorial/flask$ export FLASK_APP=myblog.py
2
3 (venv) duke@coding:~/flask_tutorial/flask$ flask run
4  * Serving Flask app "myblog.py"
5  * Environment: production
6    WARNING: Do not use the development server in a production environment.
7    Use a production WSGI server instead.
8  * Debug mode: off
9  * Running on http://127.0.0.1:5000/ (Press CTRL+C to quit)
在浏览器里输入http://127.0.0.1:5000/ 或者 http://127.0.0.1:5000/index 都可以访问你的项目啦!
2 模板
在1里,我们完成了一个返回值的显示,但这肯定远远不能满足我们需求的。因为我们希望看到的是丰富多彩的网页呀~,有什么办法呢?上一步咱们返回了一个值,那咱们返回一个网页会怎么样呢?
app/routes.py : 返回一个网页
 1 from app import app
 2
 3 @app.route('/')
 4 @app.route('/index')
 5 def index():
 6     user = {'username':'duke'}
 7     html = '''
 8     <html>
 9     <head>
10         <title>Home Page - Microblog</title>
11     </head>
12     <body>
13         <h1>Hello, ''' + user['username'] + '''!</h1>
14     </body>
15 </html>
16
17     '''
18     return html
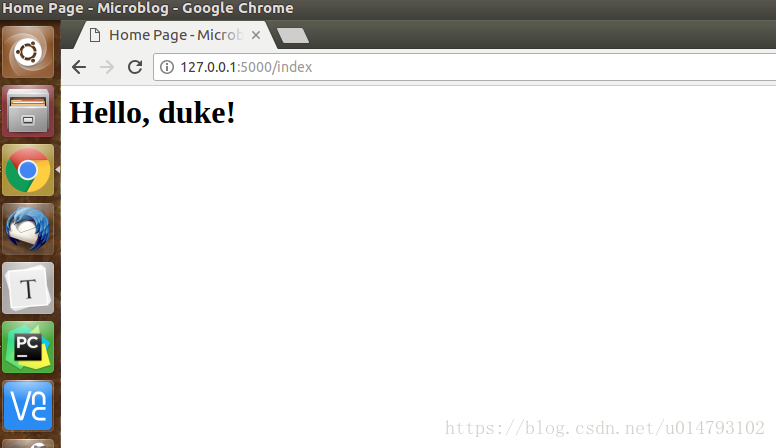
如图所示,这样就完成了返回网页的目的,但是这样实在是太麻烦了,因此肯定有解决这个问题的办法喽。对,模板就是解决这个问题的办法。
1 (venv) duke@coding:~/flask_tutorial/flask$ mkdir app/templates
2 #在新建的templates中新建一个index.html
3 (venv) duke@coding:~/flask_tutorial/flask/app/templates$ touch index.html
app/templates/index.html : 主页模板,将数据显示在其中
 1 <!DOCTYPE html>
 2 <html>
 3 <head>
 4     <meta charset="UTF-8">
 5     <title>{{ title }} - 博客</title>
 6 </head>
 7 <body>
 8         <h1> Hello ,{{ user.username }} !</h1>
 9 </body>
10 </html>
这里出现{{ }} 意味着变量,可以接受数据的地方。既然在这里写了变量,那么就要在路由中修改对应的格式,因为要把数据返回才可以。
app/routes.py : 将写在路由中的html删除,并增加一些变量。
 1 #导入模板模块
 2 from flask import render_template
 3 from app import app
 4
 5 @app.route('/')
 6 @app.route('/index')
 7 def index():
 8     user = {'username':'duke'}
 9     #将需要展示的数据传递给模板进行显示
10     return render_template('index.html',title='我的',user=user)
从新运行后,效果还是符合预期的。但是,如果你传递至模板的数据是空的,那页面显示岂不是很难看?因此我们需要在模板中加上一些判断,看数据是否为空。
app/templates/index.html : 主页模板,完善模板
 1 <!DOCTYPE html>
 2 <html >
 3 <head>
 4     <meta charset="UTF-8">
 5      {% if title %}
 6         <title>{{ title }} - 博客</title>
 7         {% else %}
 8         <title>欢迎来到博客!</title>
 9         {% endif %}
10     </head>
11     <body>
12         <h1>Hello, {{ user.username }}!</h1>
13     </body>
14 </html>
如果传进来的数据很多,那么就可以使用循环来展示数据。首先,还是对路由里的方法进行修改。
app/routes.py : 增加一些数据
 1 from flask import render_template
 2 from app import app
 3
 4 @app.route('/')
 5 @app.route('/index')
 6 def index():
 7     user = {'username':'duke'}
 8     posts = [
 9         {
10             'author':{'username':'刘'},
11             'body':'这是模板模块中的循环例子~1'
12
13         },
14         {
15             'author': {'username': '忠强'},
16             'body': '这是模板模块中的循环例子~2'
17         }
18     ]
19     return render_template('index.html',title='我的',user=user,posts=posts)
增加了这些数据之后要对模板中的结构进行一些修改。
app/templates/index.html : 循环展示数据
 1 <!DOCTYPE html>
 2 <html >
 3 <head>
 4     <meta charset="UTF-8">
 5      {% if title %}
 6         <title>{{ title }} - 博客</title>
 7         {% else %}
 8         <title>欢迎来到博客!</title>
 9         {% endif %}
10     </head>
11     <body>
12         <h1>你好呀, {{ user.username }} !</h1>
13         {% for post in posts %}
14             <div><p>{{ post.author.username }} 说:<b>{{ post.body }}</b></p></div>
15         {% endfor %}
16
17     </body>
18 </html>
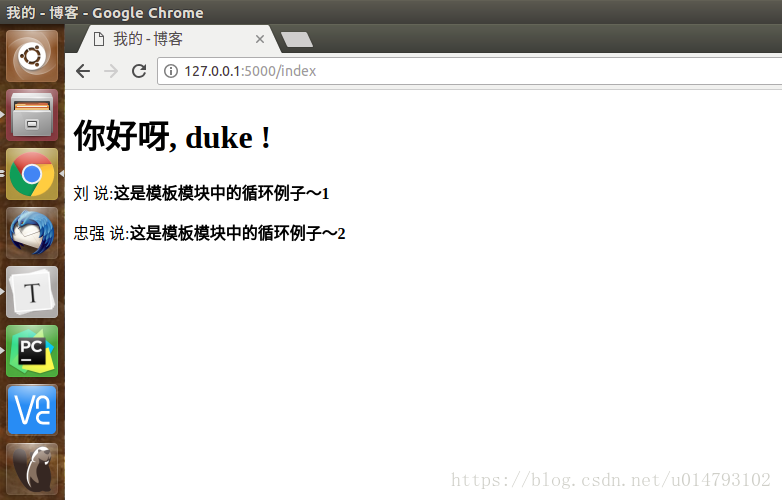
我们发现,每次修改页面都是要有很多重复的不必要代码,因此把重复的代码放到一个基类模板里,在里面留上占位符,这样只需要修改其中一部分就可以了,十分方便。
创建一个基类模板
1 (venv) duke@coding:~/flask_tutorial/flask/app/templates$ touch base.html
app/templates/base.html : 填充内容
 1 <!DOCTYPE html>
 2 <html >
 3 <head>
 4     <meta charset="UTF-8">
 5      {% if title %}
 6         <title>{{ title }} - 博客</title>
 7         {% else %}
 8         <title>欢迎来到博客!</title>
 9         {% endif %}
10     </head>
11     <body>
12        <div>博客 : <a href="/index">首页</a></div>
13         {% block content %}
14
15         {% endblock %}
16     </body>
17 </html>
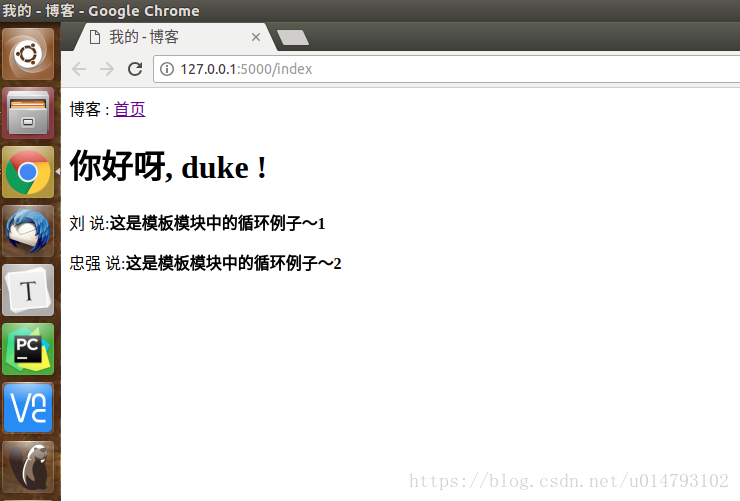
那么这有什么作用呢?注意这里面有{% block content %} {% endblock %}这一对标签,因此其他页面只需要继承这个页面,然后写上相同的标签,在标签内写上内容,就可以完整的在页面上显示所有内容。既然有了基类模板,那么index.html显示就不需要那么多代码了,这里对index.html进行修改。
app/templates/index.html : 修改格式和内容
 1 {% extends 'base.html' %}
 2
 3      {% block content %}
 4
 5        <h1>你好呀, {{ user.username }} !</h1>
 6
 7         {% for post in posts %}
 8             <div><p>{{ post.author.username }} 说:<b>{{ post.body }}</b></p></div>
 9         {% endfor %}
10
11
12      {% endblock %}
再此访问主页面的地址试一试!